Rain Harvesting In Ground First Flush Diverter
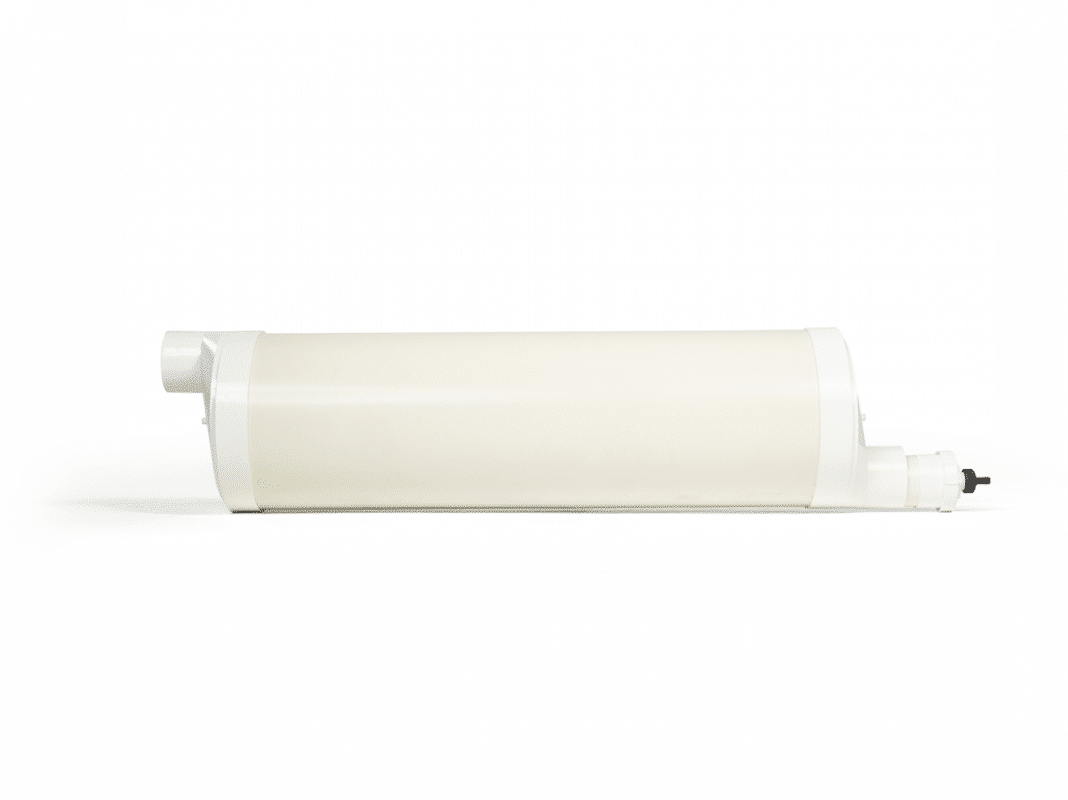
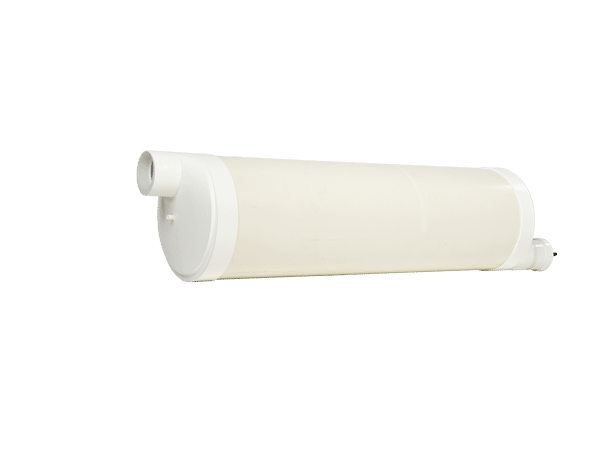
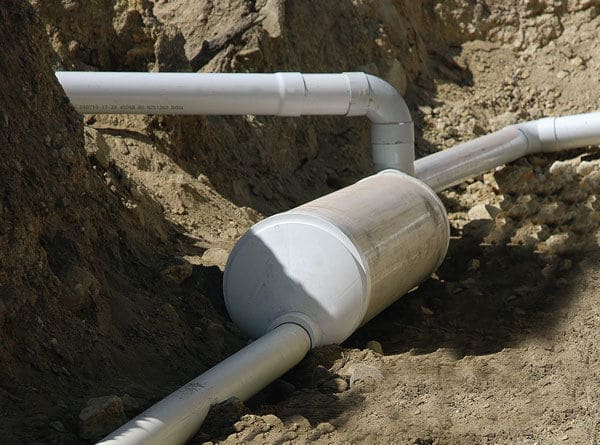
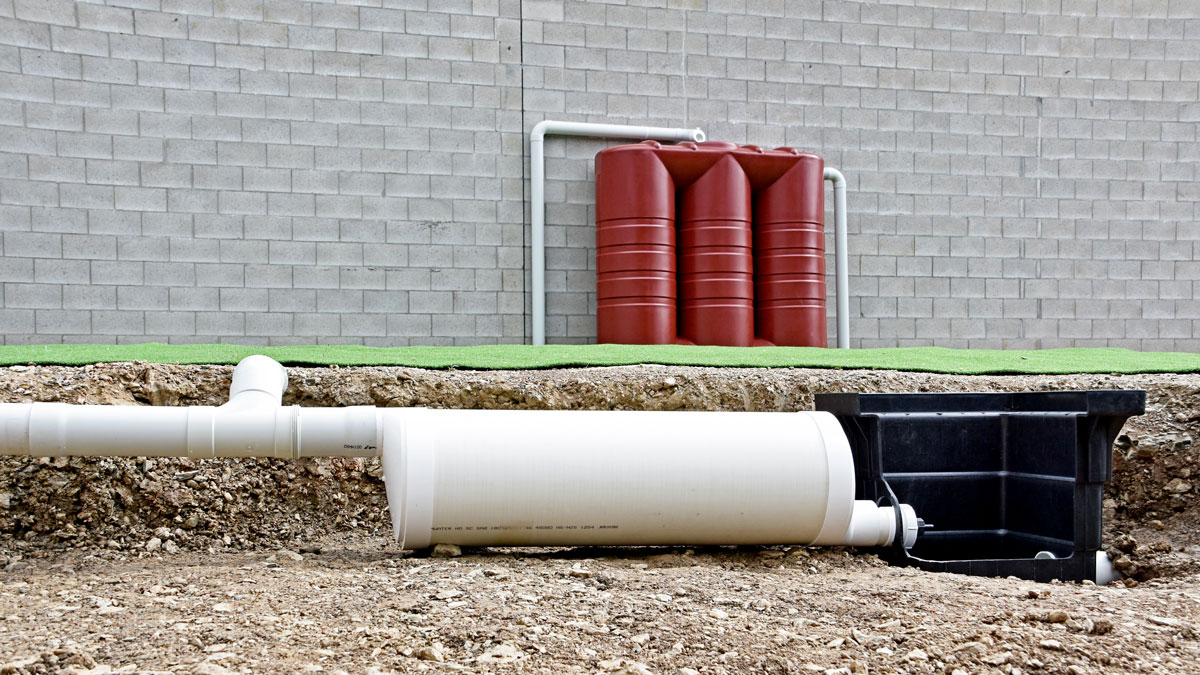
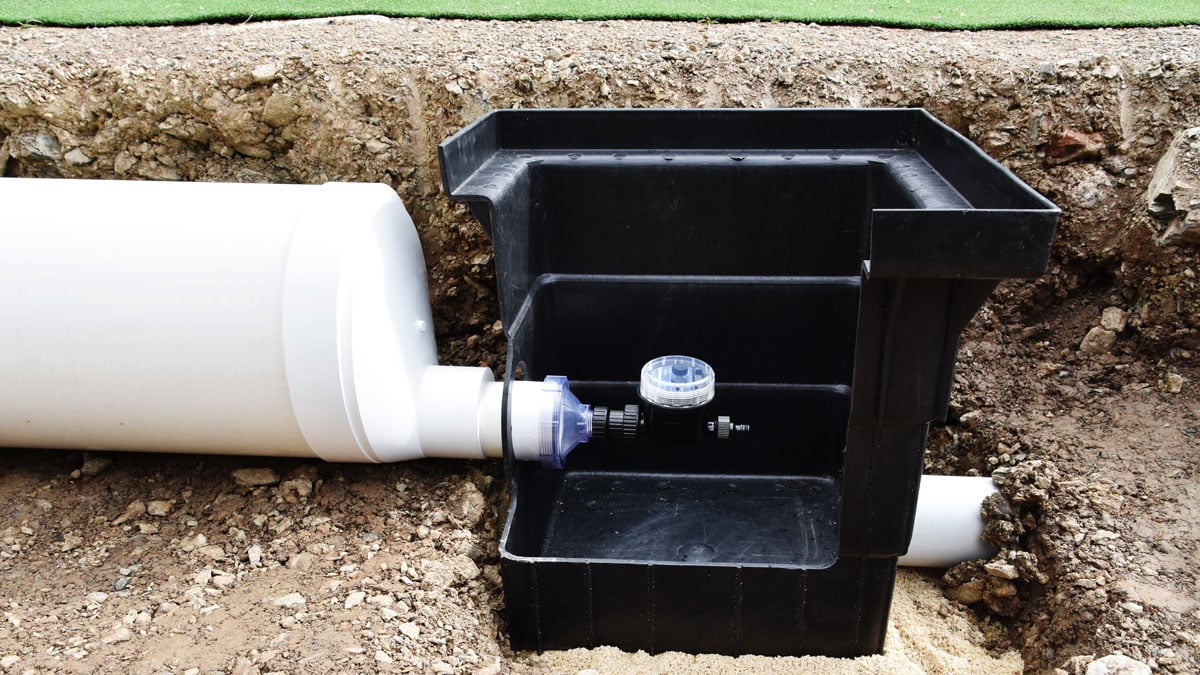
Buried and out of sight, In-Ground Water Diverters are perfect for sloping allotments. On a site that provides the opportunity for the end cap of the diverter to be positioned above ground (to drain out and be accessible for maintenance), an In-Ground Diverter allows a ‘wet’ system to be converted into a ‘dry’ system.
Most systems are ‘wet’ due to the size of buildings, and the placement of tanks away from the buildings mean that there are long runs of pipe underground leading to a riser at the tank. On a sloping site this diverter ensures the diverted water and the water that would normally remain in the pipes empties out. The result – a ‘dry’ system that improves water quality.
Features and Benefits
- Prevents sediment, bird droppings, spiders, insects, mosquito eggs and debris from entering the rainwater tank.
- Improves water quality, protects pumps and internal appliances.
- Ideal to use in conjunction with a rain head.
- Perfect for sloping allotments.
- No mechanical parts.
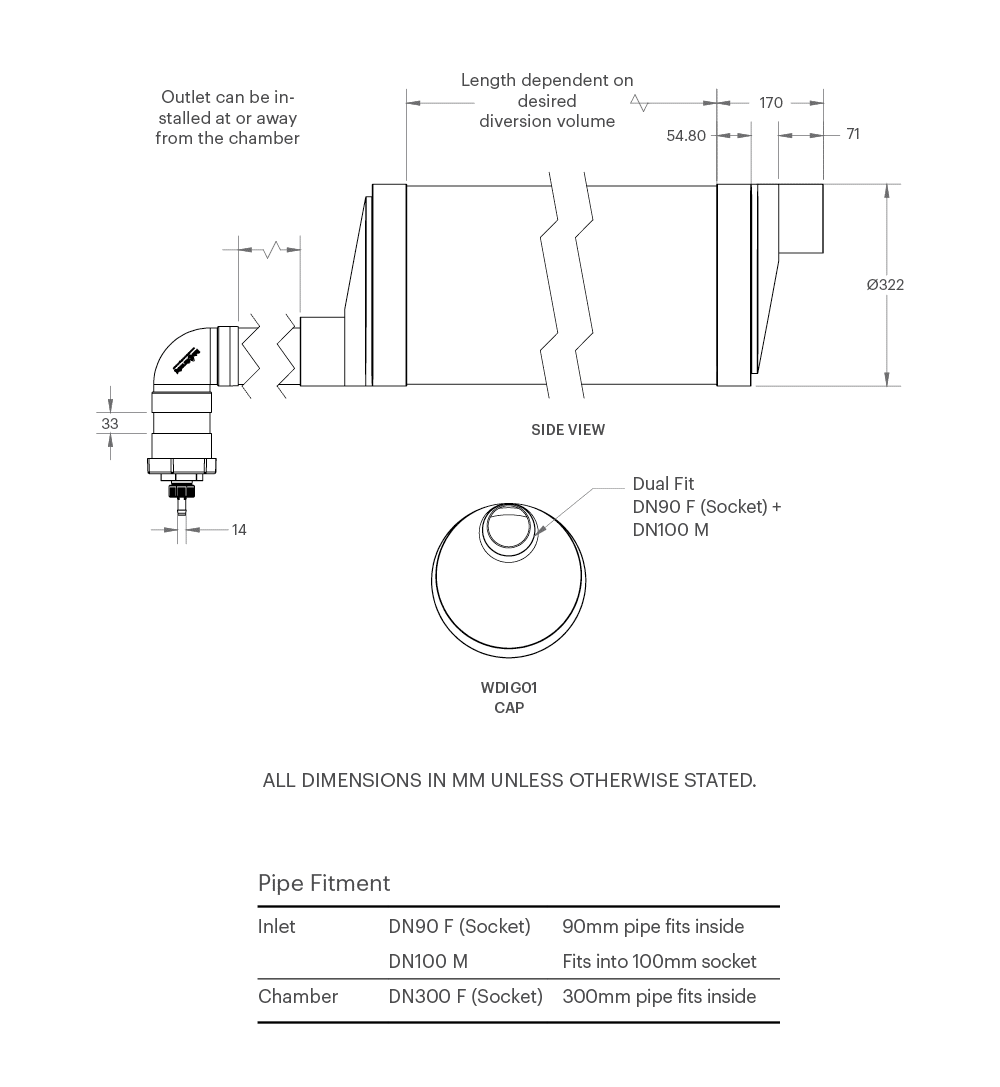
- Inlet fits 90mm pipe or 100mm female fitting.
- Simple to install – just add pipe and glue.
- Low maintenance.
- Converts a ‘wet’ system in to a ‘dry’ system.
Keep the dirtiest water out
By capturing and discarding the dirtiest, most contaminated water from your roof, this first flush diverter reduces the load on your pumps and filters and helps keep hazardous organic and inorganic matter out of your tank so your water remains fit-for-purpose.
Prevent anaerobic fermentation
The First Flush In-Ground drains water-filled pipes in your “wet” Rain Harvesting system to prevent anaerobic fermentation and stop fermented water contaminating the rainwater in your tank. This drained water can then be released or used to water your garden.
Customise for your needs
Easily customise the first flush diverter’s diversion chamber volume to suit your needs before installing it beneath your garden for maximum space efficiency and aesthetics. You can also customise the destination for drained water and connect the diverter to as many downpipes as necessary.
Calculate your diversion needs
Generally speaking, the more water you divert, the better the quality of the rainwater that ends up in your tank. However, diverting more rainwater than necessary can lead to volume shortages, so it’s important to calculate your diversion needs, and divert water accordingly.
The following formulas offer general guidelines for calculating how much water you should divert:
- Areas with low pollution (open fields, no trees, no bird droppings or animal matter, clean environment) = divert 0.5 litres of water per square metre of roof
- Areas with higher pollution (leaves and debris, bird droppings, animal matter/carcasses, pollution) = divert at 2 litres of water per square metre of roof.
This calculation will allow you to determine what length and size pipe or pipes you need for your diversion chambers.
The length of pipe required to form your first flush diversion chamber will depend upon how much water you need to isolate and capture.
The following measurements are given as a guide only.
Installation Guide
NOTE: Select an installation point for your First Flush In-Ground. Your diverter must be installed on a minimum slope (5% or 1 in 20) to ensure it drains after each rainfall event. The outlet must also be accessible for maintenance and inspection. This may be achieved by running pipe to a location aboveground or installing an access pit (e.g. stormwater pit).
- Determine the length of 300mm pipe required for your first flush diversion chamber using the table below and cut accordingly. Ensure all cut edges are clean and smooth.
- Attach the upper and lower end caps to your 300mm pipe by applying solvent weld glue to the socket and pipe before inserting the pipe into the end cap and holding until the glue sets. Repeat for the other end cap though ensure your end caps are oriented so that the inlet on the upper end cap is at 12 o’clock and the outlet on the lower end cap is at 6 o’clock. Expect a tight fit.
- Select the appropriate flow control washer and fit it into the hose connector with the side marked “TOP” showing. Start by using the Control Washer with the smallest gauge hole (lowest number). Try a larger gauge Washer if experiencing blockages. Save the remaining washers for possible future use.
- Insert the plastic filter screen in through the base of the screw cap with O-ring seal and secure by attaching the hose connector and flow control washer.
- Apply solvent weld glue to the socket of the threaded coupling and one end of the 90mm length of 90mm pipe. Insert the short section of pipe into the socket and hold until the glue sets. Insert opposite end of this short section inside the lower end cap outlet after applying solvent weld glue.
- Insert your Primary Filter Screen in the lower end cap, then attached the screw cap with O-ring seal (and assembled components) to the threaded coupling.NOTE: For some end couplings you may be required to remove and discard the molded keeper ring from the bottom of the Primary Filter Screen.
- Using a T-junction as a template, measure the pipes at your chosen installation point and cut to create space for the T-junction. If your first flush diverter will be located after the existing 90 degree bend in the pipe that feeds your tank, the T-junction can be used in place of the existing 90 degree bend to direct water vertically to the tank. Otherwise the T-junction can be installed in your existing horizontal pipework. Whichever installation option you choose, ensure all cut edges are clean and smooth.
- Place the ball inside your first flush diversion chamber through the upper end cap inlet.
- Insert the ball seat into the top of the upper end cap inlet, with the narrow end of the seat facing downstream.
- If you are installing your diverter below your existing pipework (i.e. you are not replacing the existing 90 degree bend with the T-junction), connect a 90 degree elbow to your T-junction and install using solvent weld glue.
- If you are fitting your diverter to a 90mm T-junction/elbow, cut a length of 90mm pipe to connect your diverter and T-Junction/elbow. Attach the pipe hard down on top of the ball seat, then attach the T-Junction/elbow hard down on top of the pipe.
- If you are fitting your diverter to a 100mm T-junction/elbow, attach the 28mm length of 90mm pipe hard down on top of the ball seat and glue in place using solvent weld glue. Fit the T-junction/elbow around the upper end cap inlet or, if required, connect the T-junction/elbow and upper end cap inlet using an additional length of pipe.
- Connect the T-junction to the existing pipework using solvent weld glue.
- Ensure all subsurface pipe work (including first flush chamber), has been backfilled and supported correctly using appropriate bedding sand or similar after testing for leaks.
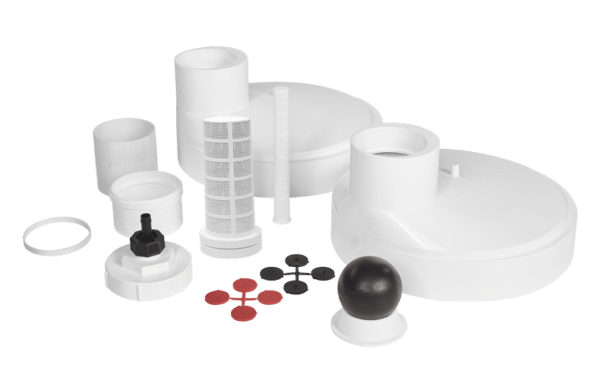
What’s in the box?
- 2 end caps
- Hose connector
- 8 flow control washers
- Screw cap with O-ring seal
- Threaded coupling
- Plastic filter screen
- Primary Filter Screen
- Ball
- Ball seat
- 90mm length of 90mm pipe (for joining end cap and threaded coupling)
- 30mm length of 90mm pipe (ball seat ring keeper)
FAQ
What comes in my first flush diverter kit?
The exact components included in your first flush diverter kit will depend upon the product you order and are listed on each individual product page. (For product-specific information, visit the product page for your chosen first flush diverter via the links above.)
Where should I install my first flush diverter?
Your first flush diverter can be installed anywhere between your roof catchment area and your rainwater tank to isolate and capture the first “flush” of dirty water at the beginning of a rain event. You may choose to install smaller diverters to divert rainwater from each downpipe or you may choose to install larger diverters to divert rainwater from several downpipes.
How much water should I divert?
In areas with mild pollution (e.g. open fields, no trees, no bird droppings or animal matter, clean environment) you should divert 0.5 litres per square metre of roof (0.0125 gallons per square foot of roof). In areas with higher pollution (e.g. leaves and debris, bird droppings, animal matter/carcasses, pollution) you should divert 2 litres per square metre of roof (0.05 gallons per square foot of roof). These formulas will help you calculate your total diversion volume or, if you’re using more than one first flush diverter, the volume of water you should divert in each device (which will depend upon the size of the roof area that “feeds” each diverter).
How long should my first flush diversion chamber be?
The length of pipe required to form your first flush diversion chamber will depend upon how much water you need to isolate and capture. The following measurements are given as a guide only. For product-specific information, visit the support page for your first flush diverter.
1 metre of 90mm pipe = 5.7 litres
1 metre of 100mm pipe = 8.8 litres
1 metre of 150mm pipe = 18.8 litres
1 metre of 225mm pipe = 45 litres
1 metre of 300mm pipe = 72 litres
3 feet of 3″ pipe = 1.5 gallons
3 feet of 4″ pipe = 2 gallons
3 feet of 12″ pipe =19 gallons
Can I run two or more pipes into one first flush diversion chamber?
Yes. Just remember that you need to size your first flush diversion chamber based on the size of the roof area that’s upstream from your diverter. If two or more pipes (aka lines) feed into a single diverter, you should size your diversion chamber accordingly by considering the total roof area that feeds both pipes.
Which flow control washer (valve) should I use?
Your first flush diverter comes with a range of flow control washers (valves). Each washer has a different sized hole. The size of the hole determines the rate at which your first flush diversion chamber will empty. A smaller hole will create a slower flow rate and release less water during a rain event, while a bigger hole will create a higher flow rate and release more water during a rain event. (Blockages excepted, any size washer will eventually fully empty your diversion chamber after each rain event.) Washers with a smaller hole will become blocked sooner than washers with a larger hole. Choosing your flow control washer is therefore a trade-off – lower wasted water during rainfall means more regular maintenance, while moderate wasted water during rainfall means less maintenance is required. However, when choosing your flow control washer, remember that the volume of water flowing from the largest washer, which has a 2mm diameter hole, will still be insignificant when compared to the rainfall flow rate.
Which way should the ball seat be oriented?
Your diverter’s ball seat is like a funnel: \ /. The narrow end is installed facing down so it can be sealed by the black ball.
How do I plumb the trickle feed outlet on my first flush diverter?
You can use 12mm irrigation tubing to plumb the trickle feed outlet to a location away from the diverter.
How do I clean my first flush diverter?
Slowly unscrew the black hose fitting from the bottom of your first flush diverter. If the diversion chamber is full of water, take care as the water empties. Remove the plastic filter (it may come out when you remove the black hose fitting) and wash under clean water. Check the flow control washer for any blockages and wash with clean water, then replace all these parts.
